

제주시 삼양동 부영아파트에 2in1 중고 설치를
했습니다

제품은 이사오면서 가지고 계셨네요
설치만 해드렸습니다
부영아파트는 스탠드 매립에 벽걸이 노출배관입니다

안방에 벽걸이 구멍은 있습니다
원래는 반대쪽 벽면인데 기존 구멍을 살려서
설치를 해달라고 하시네요

실외기도 자리에 옮겨놨네요
바닥앵글을 이용해서 설치를 하기로 했습니다

이삿짐에서 철거를 너무 잘했네요 ㅠㅠ
연결부분을 통으로 잘랐네요
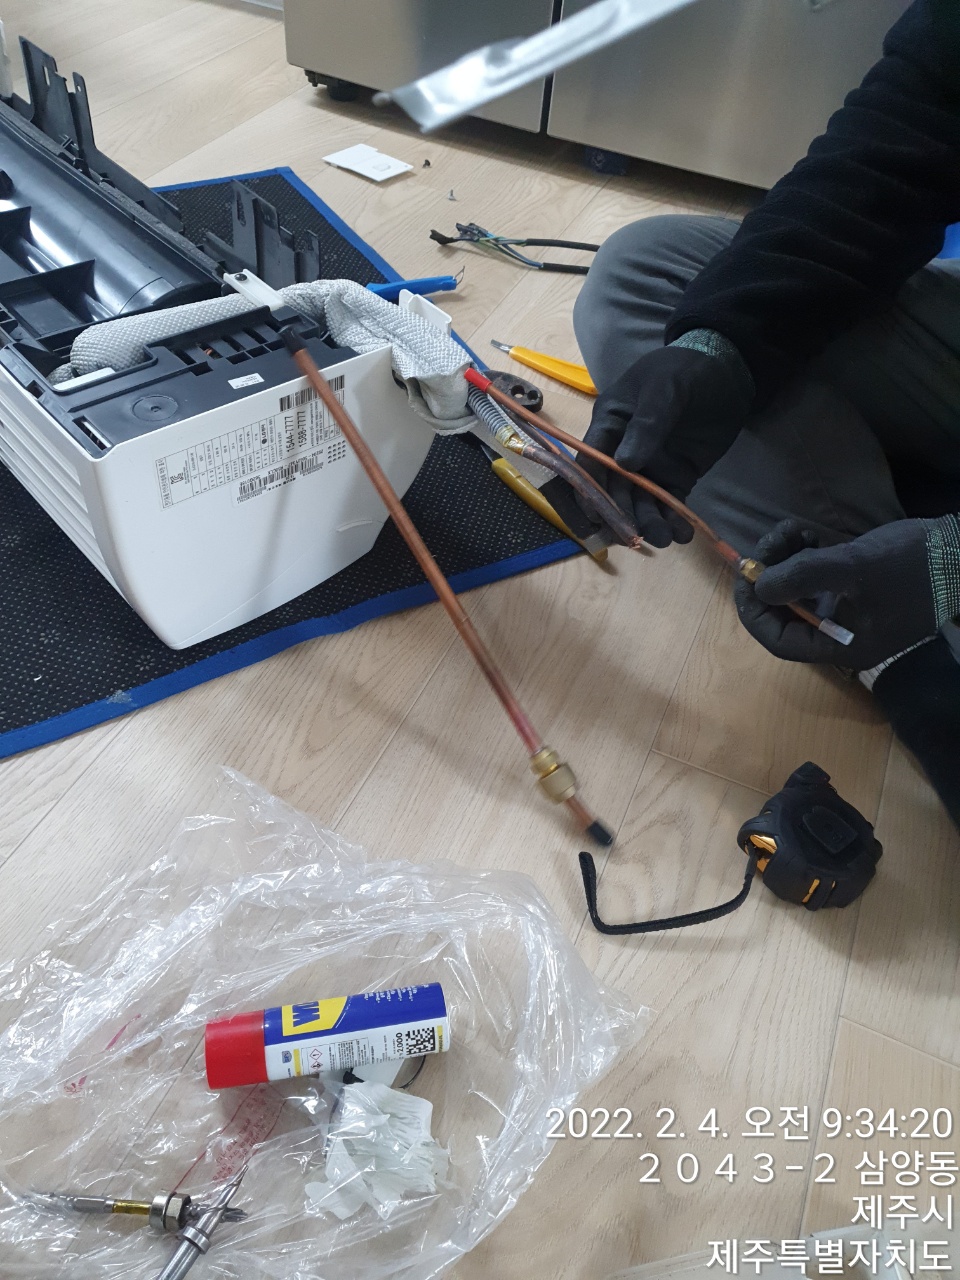
될수있으면 이전설치는 이삿짐에 맡기지 마세요
별도의 비용이 추가가 됩니다


다음을 위해 용접을 해줍니다

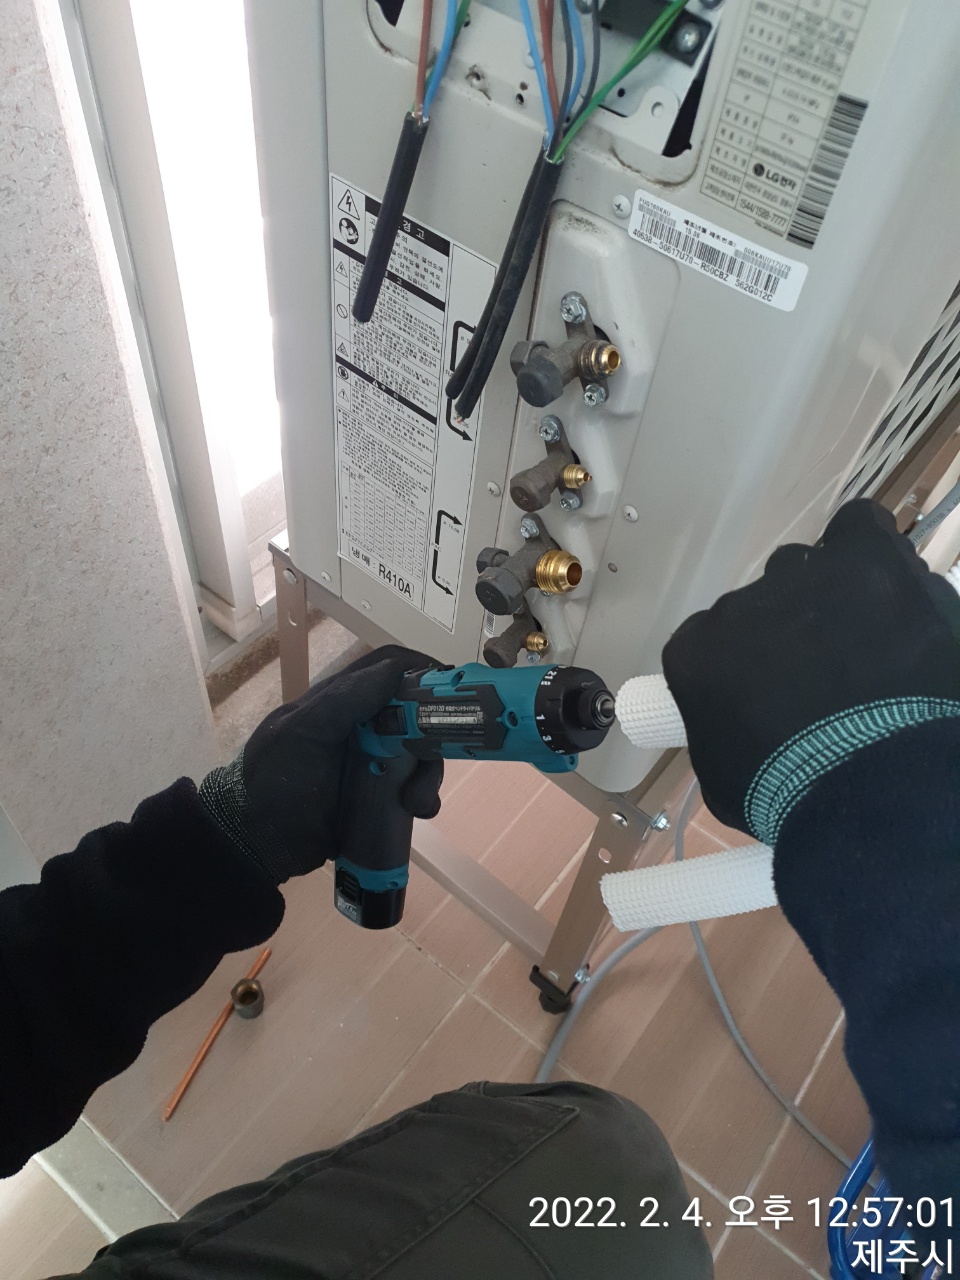
전기선은 인두기로 작업을 해줍니다


배관 상태보니 처음부터 설치를
똑바로 한것이 아닙니다
벽에서 올라오는 부분이 접혀있네요
항상 매립배관을 작업을 할때는 속스프링을
넣고 하셔야 합니다

실외기 앵글을 조립해줍니다

앵글 수평을 맞춰줍니다

배관은 밴딩기로 잡아서 작업을 했습니다

기존 구멍 살려서 작업하려면 배관 라인을 먼저
고정을 해줍니다

스탠드 먼저 용접을 해줍니다
배관 먼저 작업후 연결을 했습니다
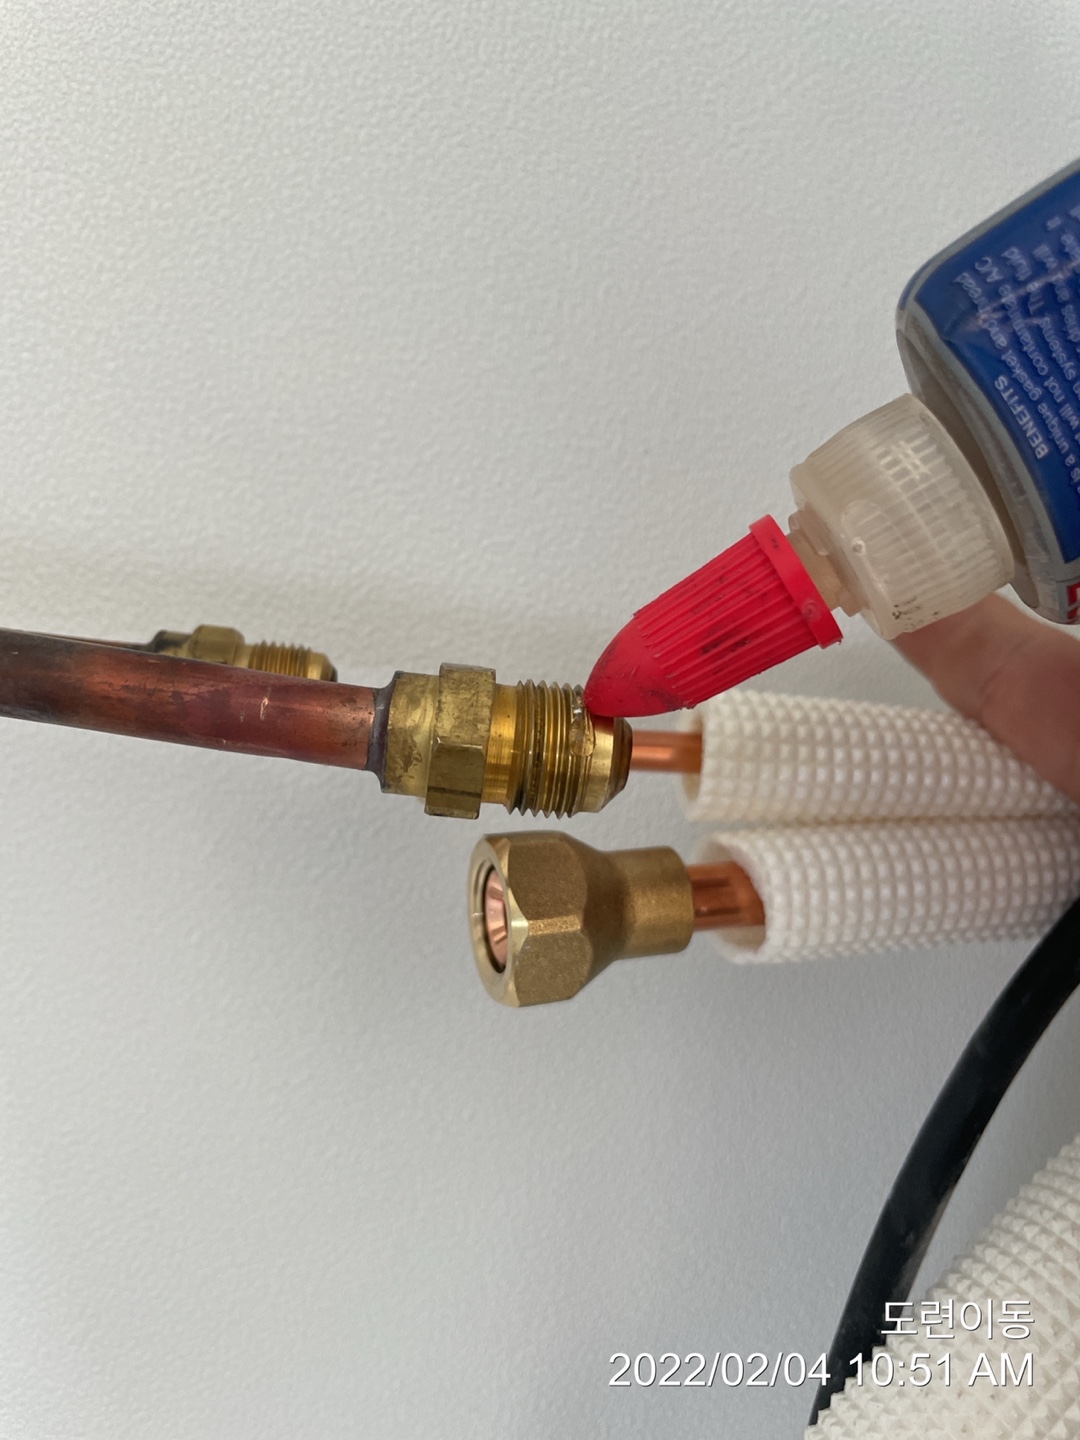
나일로그를 발라줍니다

배관은 최대한 보기좋게 고정을 해줍니다


전원 플러그 작업할때도 인두기로 꼭 작업을
해줍니다

실내에 스탠드 배관을 감아주면 거의 마무리가 됩니다

벽걸이도 연결후 마무리를 해줍니다


저희가 사용하는 전원선이 VTCF전선입니다
아주 많은 선들이 있는데 그냥 사용할때
구리선들이 끊어지게 되었어요
에어컨 화재의 원인이 될수도 있습니다
인두기로 납땜을 하게되면 여러가닥의 구리선들이
끊어지는 일이 없습니다
분명 귀찮죠 작업하기엔 저도 처음에는 이렇게
작업을 하지 않았어요
하지만 이제는 무조건 작업을 하고 있습니다
안전을 위해서 입니다

스탠드 자리 잡아줍니다

실외기 배관 밴딩작업을 해줍니다

ㅜㅜ 밴딩작업이 생각보다 어려워요
방향을 잘못잡아서.....컷팅후 용접을 했습니다
연습 많이 해야할거 같아요
벽걸이 먼저 담수테스트 해줍니다


밴딩잡고 실외기쪽 용접을 해줍니다
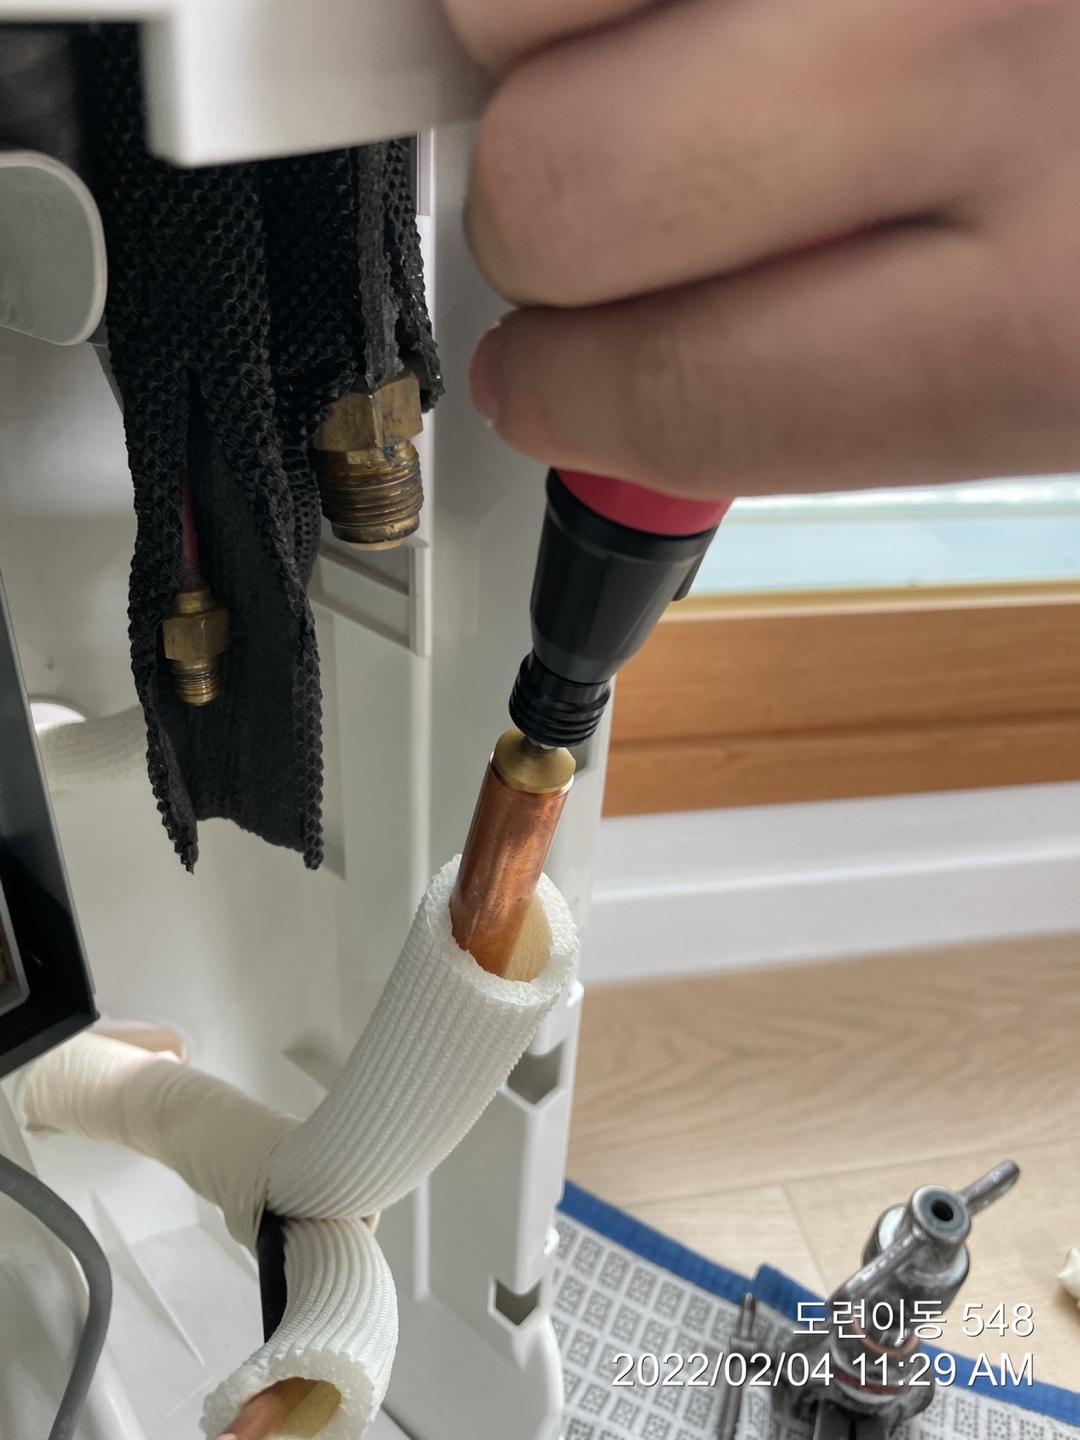
배관 청소전 리머작업을 해줍니다

스펀지를 배관에 넣어줍니다

질소로 불어주면 됩니다


2~3번 정도 청소를 합니다

청소후 스탠드 확관도 해줍니다

나일로그를 발라주고 연결을 합니다
실외기쪽도 자리잡고 리머작업을 해줍니다


전동사라기로 확관을 내어줍니다

마감테잎으로 마무리를 해줍니다

나일로그를 발라주고

토크렌치로 마무리를 해줍니다

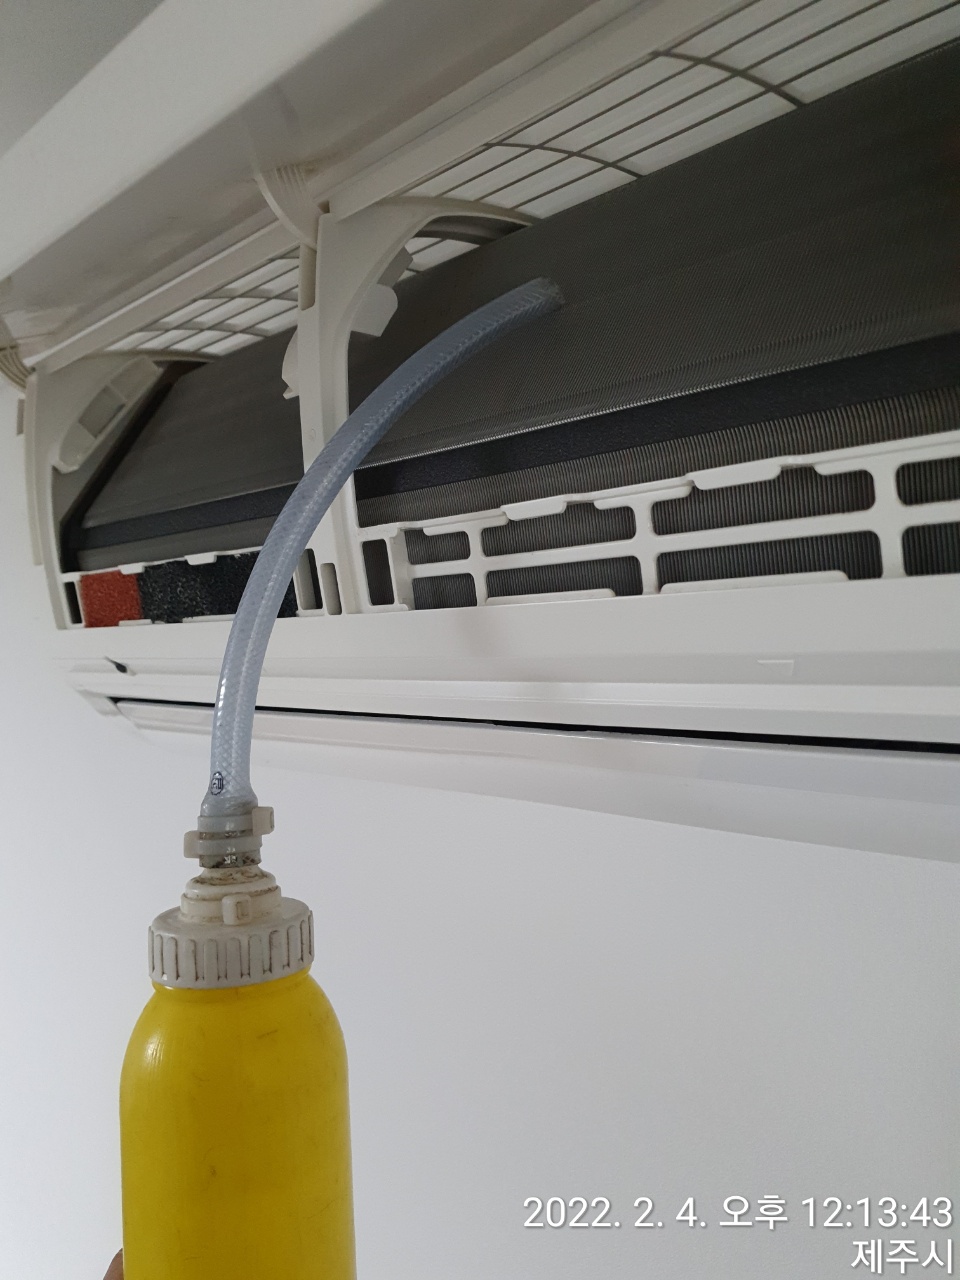
담수 테스트도 실시합니다

진공작업 실시후 전기선 작업을 마무리 합니다

예전에는 배관을 그냥 위로 작업을 했는데
저쪽 벽이 시멘트가 아니고 석고 보드입니다
위급사항때 탈출하는 곳으로
그럴일은 없겠지만 위급사항때 탈출하기에 좋게
배관을 바닥으로 작업을 했습니다

중고제품인데 진공작업이 잘됩니다


시운전으로 가동시켜놓고 냉매보충을 했습니다
원래 냉매보충은 힘들어요 FM은 가스 다 날리고
진공잡고 전자저울로 넣어야합니다
하지만 지금까지 경험으로 압력으로 정확하게는
맞추지는 못하지만 어느정도는 알기에
보충을 하는겁니다
만약 제가 잘못되었다면 여름에 다시 와야합니다
그런걸 감안해서 작업하는거라 무턱대고는
하지 않습니다

누설테스트까지 실시 했습니다

방부터 청소를 마무리 했습니다

벽걸이 구멍이 낮게 있어서
설치전 설명 드리고 작업을 했습니다

스탠드 뒷쪽도 마무리를 했습니다

시운전까지 완료 했습니다


항상 마무리는 청소입니다
실내 실외 제가 작업했던곳은 청소기로
마무리를 확실하게 해줍니다


벽걸이 배관 마무리가 깔끔하게 나왔습니다
구멍도 다 있던거 살려서 작업을 했습니다

실외기쪽도 마무리 했습니다
배관을 밴딩기로 작업을 하니 공간도 많아지고
보기에도 좋네요
뒤에 공간이 많다고 짐같은걸 넣어선
절대 안됩니다
사용시 주의사항을 잘 알려드리고
사용설명도 드리고 마무리를 했습니다
이상 오늘 작업이였습니다
에어컨 새제품 판매/설치 중고에어컨
이전설치시 세척도 합니다.
LG에어컨 자격증 삼성에어컨 자격증보유!!
LG 삼성 싱글 천정형 자격증 보유!!
각종 벽걸이,스탠드냉난방 에어컨!!
천정형 에어컨!!
판매 설치!!
배관 커버 시공전문! 매립설치 전문!!
제주 전지역 가능!!
010.9310.3039
전화상담환영입니다.
'에어컨 설치' 카테고리의 다른 글
| (제주도)(노형동/외도동)삼성2in1 이전설치/벽걸이 배관 커버마무리 (0) | 2022.02.10 |
|---|---|
| (제주도)(조천읍 용강동 오라동)에어컨 점검 (0) | 2022.02.07 |
| (제주도)(애월읍 금성리)summersnow (0) | 2022.01.30 |
| (제주도)(일도일동)2in1 배관커버 설치 (0) | 2022.01.29 |
| (제주도)(일도이동)벽걸이 이전설치 배관커버 (0) | 2022.01.27 |


댓글